

PHOTO TIP/ My #1 hack to make my photos look better?
First, straighten the photo in your photo editing app or your desktop editor.
I’m going to show you a few examples of me using VSCO on my phone and Lightroom on my desktop. (I do also use LR on my phone as well.)
In this example, when I straighten the photo it is subtle but improves the image immediately.
In VSCO, you click on EDIT image, then click on the SETTINGS icon, the second icon to the right on the bottom of the screen. Then click on the ADJUST icon, immediately the rule of thirds pops up on your photo which helps you straighten to your desired outcome.
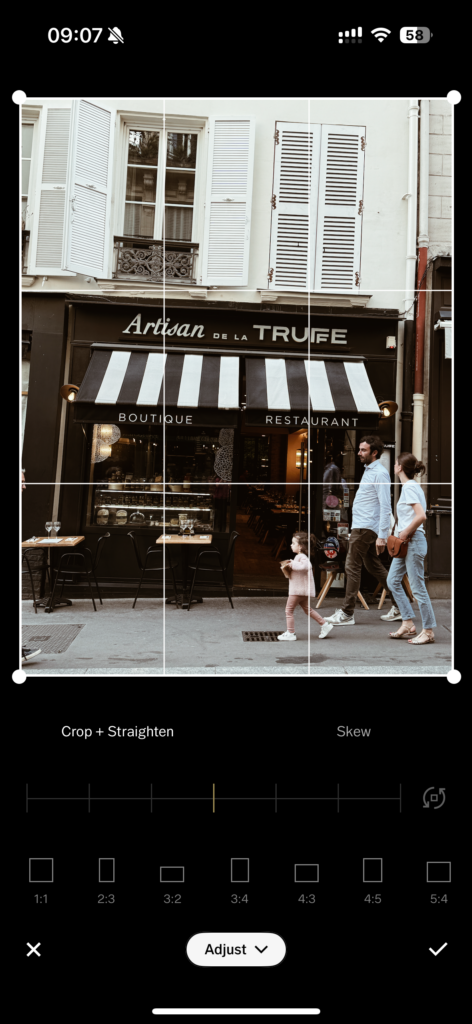

As you can see, by straightening a little, my photo also gets cropped a bit. You’ll have to decide if this is something you like and are okay with or if it takes too much away from your photo then you can adjust accordingly. For me, I’m fine with the woman on the right getting trimmed out a bit, I prefer the way she shows up in the original image on the left, but my photo is so tilted to the right that I think having a straight photo is more important (in this example).
On the contrary, sometimes the by product of straightening is usually a subtle crop that you may not have done or thought to do. And I actually love as it improves my photo.
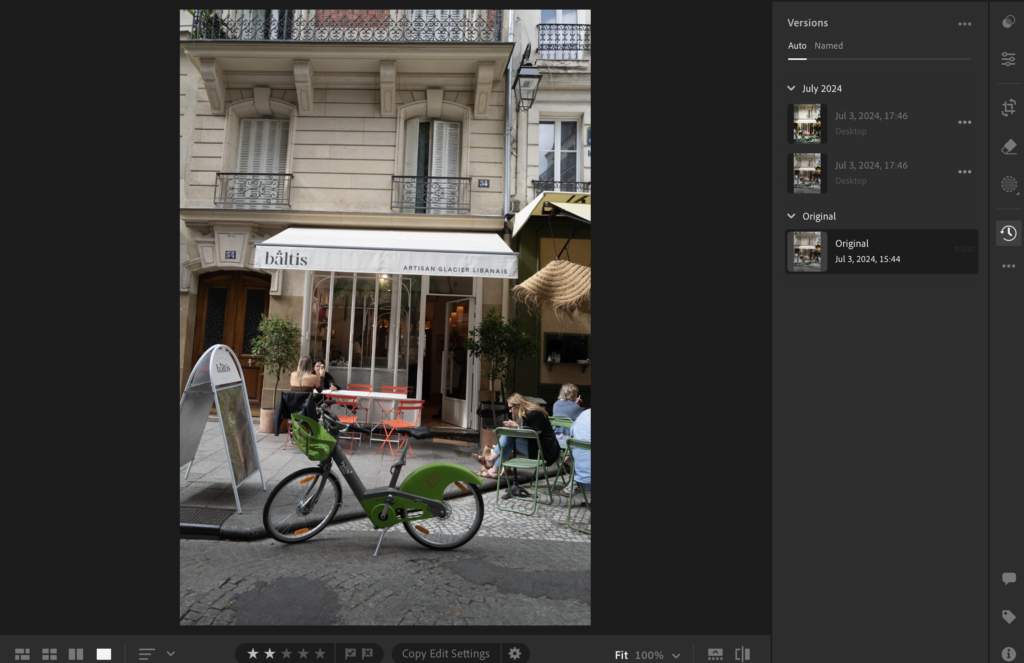
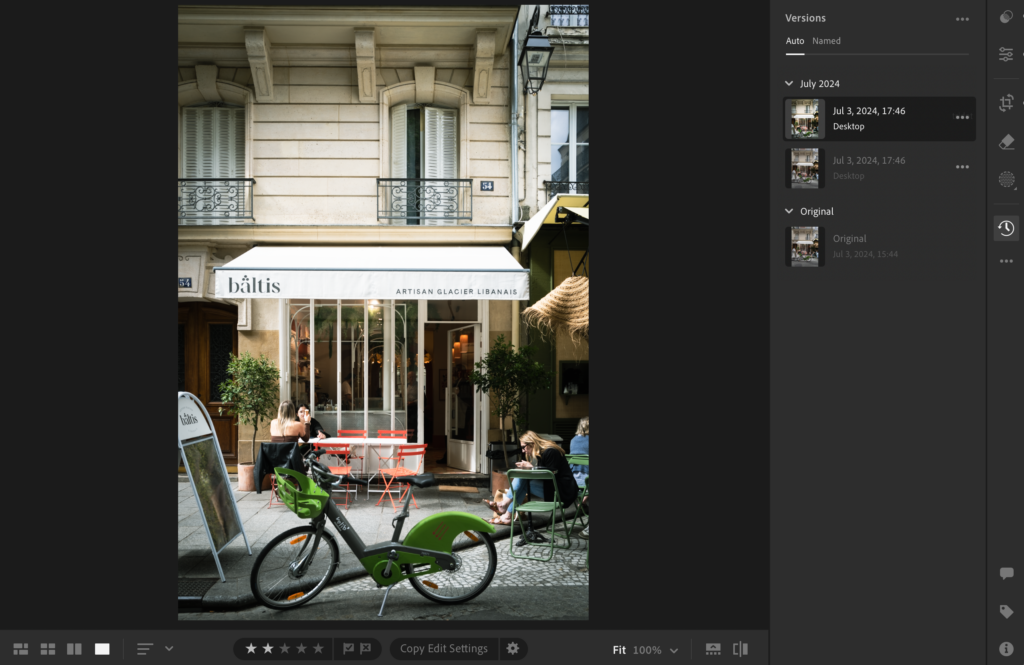
In Lightroom, it is under the Crop tab, under GEOMETRY, click on UPRIGHT, select AUTO. (you may choose to do this differently, as there are manual ways to adjust as well, but I like to see first what the auto setting comes up with, then I make my adjustments from there.
You can see in the photos above that I lose the balcony at the top of the photo, but I’m ok with that because I had way too much space in the foreground in front of the bike. By straightening this photo, IMHO I immediately made it look better.
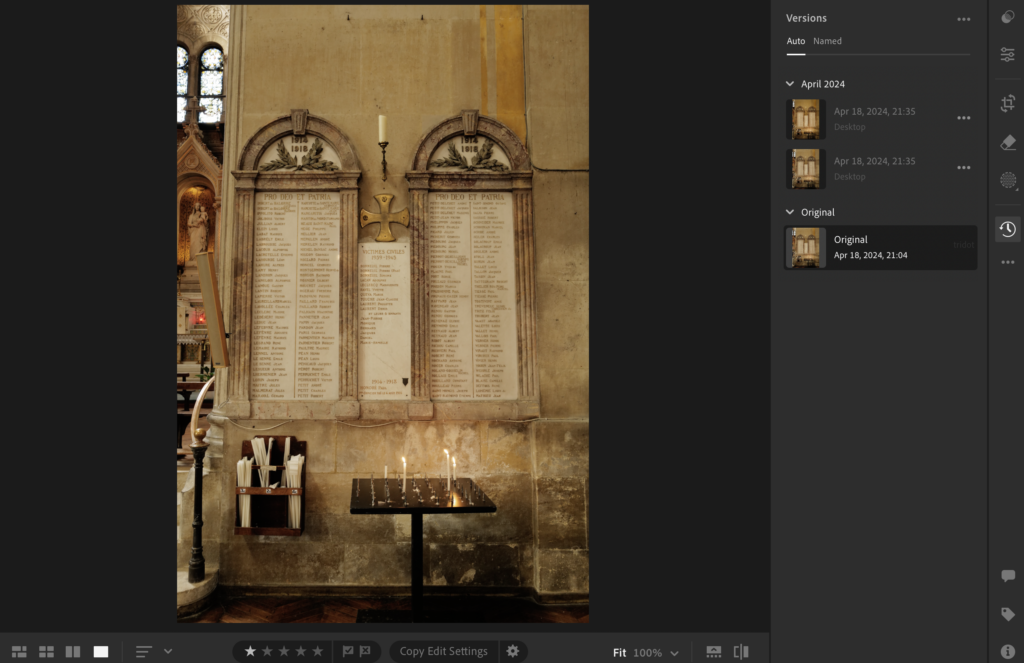
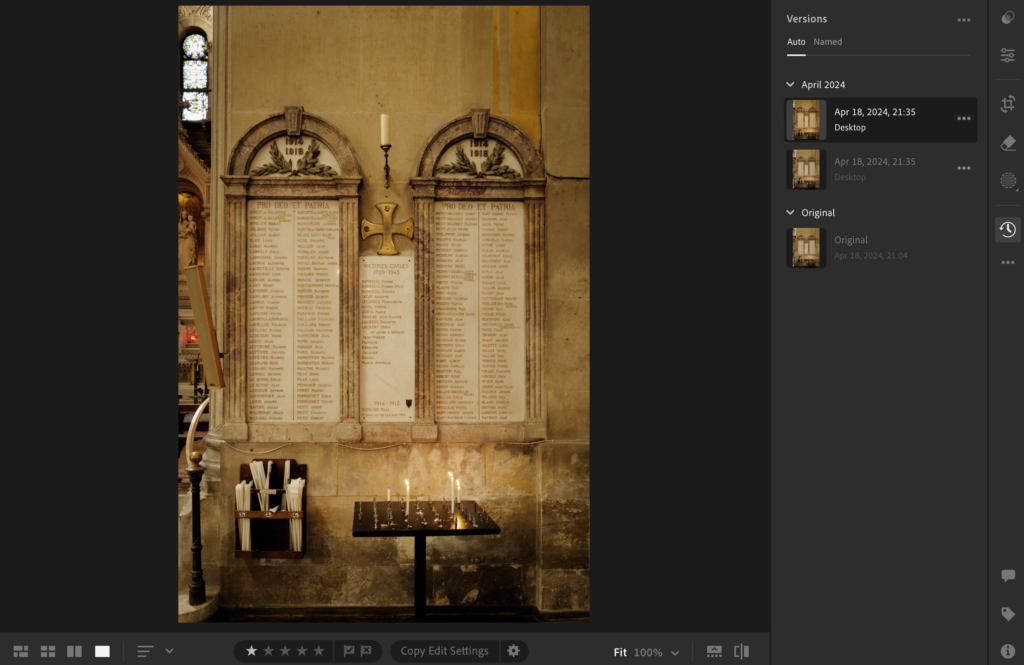
In this photo it looks subtle, a small adjustment. But the first photo, the wall looks like it is tipping back. By straightening the photo it makes the vertical lines even and makes it a better photo to look at.
Why is this my first step when editing? Because 🥳 99% of the time this one editing step makes my photos look better!
Cropping is another powerful tool on its own! That will be something I cover soon as well!
I happen to have a natural tilt to the right almost always with my photos. I’m showing examples of both Iphone photos as well as photos shot with my Leica Q2 so that you can see my consistency!!!! Even when I purposely use the grid on my phone/camera – I rarely don’t have a tilt. It’s something I try to work on – but I’m a work in progress. Thank goodness for this super easy, one click solution to get my editing started!
Check back for more tips!
